I didn't take any pictures yesterday. Too busy and too hard to hold camera while straining against stubborn pipes.
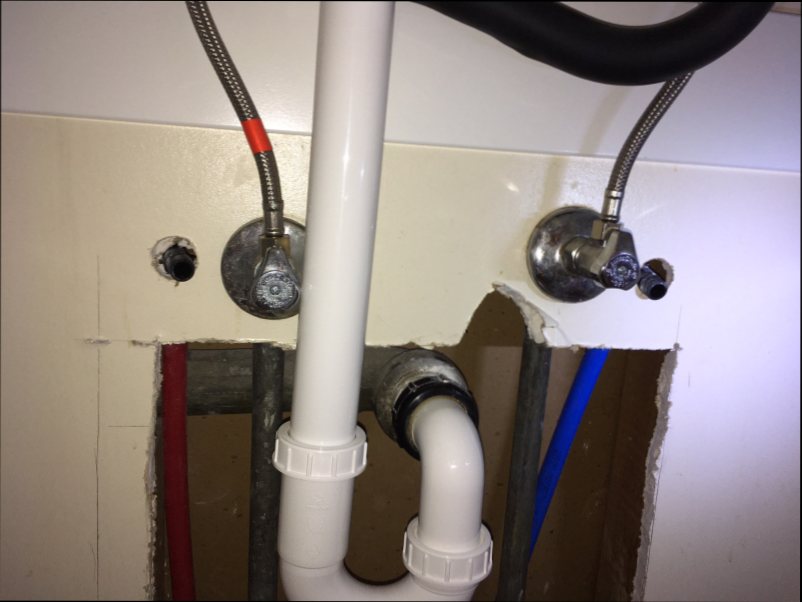
But, here is a series of photos getting the upstairs bathroom sink plumbed. I did this on the rainy Saturday. Because these valves are hidden inside the cabinet, I just left the old ones in place and added the new ones next to them.
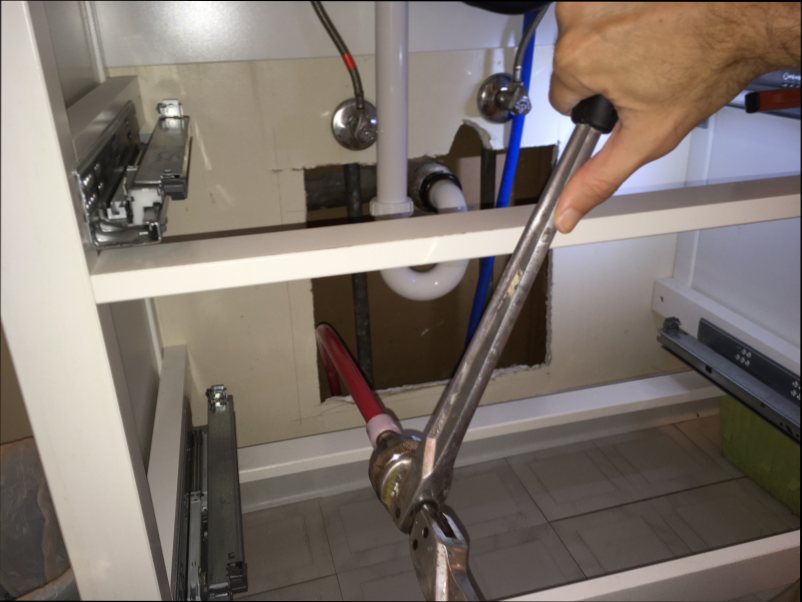
I pulled the red hot water pipe out into the area where I could reach it with the expander tool. The other end of this tube two floors below wasn't connect yet, so I could move it back and forth as needed to work on it. You place a white expander ring on the end of the tube and use the tool to stretch the tubing wide open. Is slowly shrinks back to its original size, but you have a couple seconds to get it inserted on the fitting.
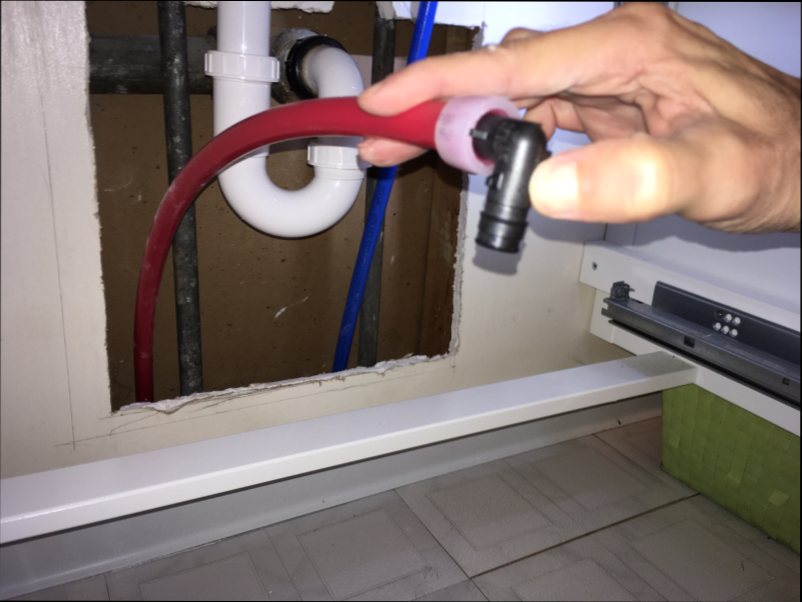
No effort needed at all to put it on the fitting. You just slide it in place. But you do need to hold it in place for maybe 30 seconds while the tubing shrinks back down onto the fitting and clamps down hard. You see that black fitting has little prong like wings sticking out on the sides. That's the depth guage. You push the tubing on until it hits those prongs and then you just hold it in place for a bit.
So then I drilled a hole in the drywall for the new valve to go.
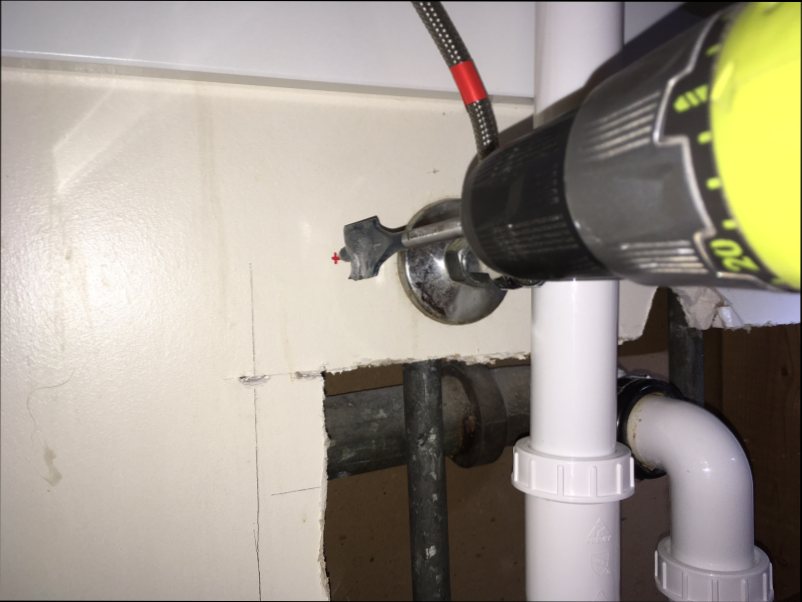
And I pushed the tubing back down into the wall toward the basement and poked the black elbow fitting out the hole I just drilled. You can see I also did the blue cold water side as well.